bonavita crib assembly instructions
Preparing for a new baby involves setting up the nursery․ Assembling the Bonavita crib can be straightforward, turning the space into a welcoming haven․ This versatile crib adapts to your child’s growth, converting from a crib to a toddler bed, daybed, and full-size bed over time․

Essential Tools and Hardware Overview
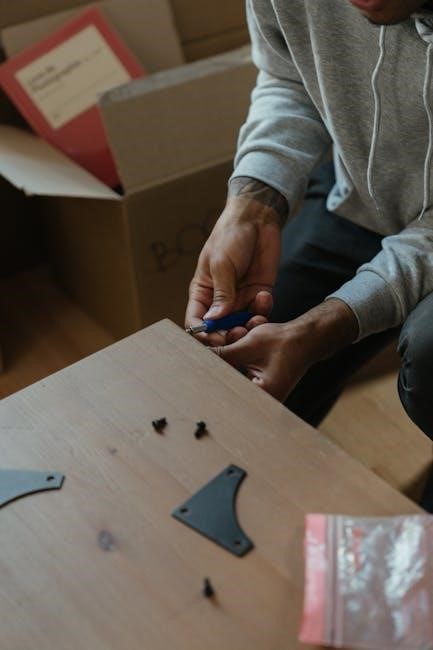
Before commencing the Bonavita crib assembly, ensure you have all necessary tools and hardware․ Typically, the hardware pack includes various sizes of Allen head bolts, washers, barrel nuts, and wing nuts․ A critical tool is the Allen wrench, usually included, for tightening bolts․ A Phillips head screwdriver may also be necessary, though power screwdrivers are not recommended to prevent damage․
Carefully unpack all components and cross-reference them with the parts list in the assembly manual․ Identify the headboard, footboard, side rails, stabilizer bars, and mattress support․ Check for any missing or damaged parts before starting․ Locate the joint connector nuts, essential for attaching the stationary posts to the crib sides․
Familiarize yourself with each hardware item and its purpose․ The correct use of washers and bolts is crucial for structural integrity and safety․ Keep the assembly manual handy for reference throughout the process․ Organizing the hardware into labeled containers can streamline the assembly and prevent confusion․ Remember, proper preparation is key to a smooth and efficient crib assembly experience․
Step-by-Step Assembly Instructions
Follow these instructions to assemble your Bonavita crib correctly․ Start by attaching stabilizer bars․ Then, secure the headboard and footboard․ Finally, install and adjust the mattress support for your child’s safety and comfort throughout their growth․
Attaching the Stabilizer Bars
The stabilizer bars are essential for connecting the left and right sides of the Bonavita crib, providing structural integrity and stability․ Position one bar towards the headboard and the other towards the footboard to ensure even distribution of support․
Begin by inserting a barrel nut into each predrilled hole located on the stabilizer bars․ These barrel nuts are designed to align perfectly with the bolts, allowing for a secure connection․
Next, align the barrel nuts to capture the bolts․ Take a 3 1/8 inch bolt and insert it through each nylon washer, then through the hole in the crib side, and finally into the barrel nut․
Once all the bolts are in place, use the Allen wrench that was included with the crib to tighten them․ Ensure that all bolts are tightened securely to create a stable frame․ Double-check each connection to confirm that the stabilizer bars are firmly attached to both sides of the crib․ This step is crucial for the overall safety and stability of the crib, so take your time and ensure it is done correctly․
By properly attaching the stabilizer bars, you lay the foundation for a safe and sturdy sleep environment for your child․
Securing the Headboard and Footboard
Securing the headboard and footboard is a critical step in assembling the Bonavita crib, as these components provide essential support and define the crib’s structure․ Begin by positioning the headboard and footboard in their designated locations, ensuring they are properly aligned with the crib sides․
To attach the headboard, use two Allen head bolts and washers on the left bottom leg and two Allen head bolts and washers on the right bottom leg․ Insert the bolts through the pre-drilled holes in the legs and into the corresponding holes in the crib sides․
Once the bolts are in place, use the Allen wrench provided with the crib to tighten them securely․ Ensure that the headboard is firmly attached and does not wobble․ Repeat this process for the footboard, pre-threading the four Allen head bolts into each predrilled hole in the bottom left and right legs of the footboard․
Attach the footboard to the crib sides, inserting the 2-inch Allen head bolts through the inside edge of the crib sides and into the footboard․ Secure the bolts tightly with the Allen wrench․ Double-check all connections to ensure the headboard and footboard are firmly in place, providing a stable and secure frame for the crib․
Mattress Support Installation and Adjustment
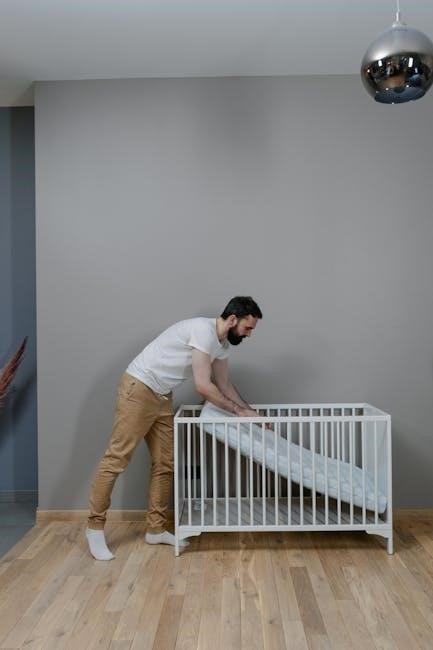
Installing and adjusting the mattress support is essential for ensuring your baby’s safety and comfort in the Bonavita crib․ The mattress support system typically consists of a metal or wooden frame that sits inside the crib and holds the mattress at the desired height․ Begin by placing the mattress support inside the crib, ensuring it rests evenly on the support brackets located on the inner sides of the crib․
To secure the mattress support, use Phillips head screws through the stabilizer bar in the mattress support and then through the support bracket․ Secure it with a wing nut․ The Bonavita crib usually offers multiple height settings to accommodate your growing child․ For newborns, select the highest position to make it easier to reach your baby․ As your child grows and begins to sit or stand, lower the mattress to prevent them from climbing out of the crib․
Insert a Phillips head screw in the correct hole for the mattress position, then through the support bracket, and tighten with a wing nut․ Repeat on all four brackets․ Ensure that all screws and wing nuts are tightened securely to prevent the mattress support from shifting or collapsing․
Converting the Crib to a Toddler Bed
As your child grows, the Bonavita crib’s ability to convert into a toddler bed becomes invaluable, extending its lifespan and adapting to your child’s developmental stages․ The conversion process usually involves removing one of the side rails and replacing it with a toddler guard rail, providing easy access for your child while still ensuring their safety․
Before starting the conversion, consult your Bonavita crib’s instruction manual for specific steps and required hardware․ Typically, you’ll need to detach the side rail by unscrewing the bolts or fasteners that connect it to the headboard and footboard․ Replace the detached side rail with the toddler guard rail, aligning it with the existing holes and securing it with the appropriate hardware․
Ensure that the toddler guard rail is firmly attached and that there are no gaps or loose parts that could pose a safety hazard․ Regularly check the hardware to ensure it remains tight and secure․ With the conversion complete, your child can enjoy a comfortable and safe transition from crib to toddler bed, fostering their independence while maintaining a familiar sleep environment․

Troubleshooting Common Assembly Issues
Assembling furniture, like a Bonavita crib, can sometimes present challenges․ One common issue is missing parts․ Before you even start, take inventory of all components․ If something is missing, contact the manufacturer or retailer immediately․ Don’t try to substitute parts, as this could compromise the crib’s safety․
Another frequent problem is difficulty aligning parts․ Ensure that you’re using the correct screws and bolts for each step․ If holes don’t line up perfectly, try loosening the surrounding connections to allow for some wiggle room․ Avoid forcing anything, as this can damage the wood or hardware․
Stripped screws are another headache․ Use the correct size screwdriver and apply gentle, even pressure․ If a screw starts to strip, stop immediately․ You can try using a rubber band or steel wool between the screwdriver and screw head for better grip․ If all else fails, contact customer support for replacement screws․
Safety Precautions During and After Assembly
Safety is paramount when assembling a Bonavita crib․ Before starting, ensure you have ample space and a clear, well-lit work area․ Keep children and pets away from the assembly zone to prevent accidents․ Read all instructions carefully before beginning, understanding each step fully․
During assembly, be mindful of small parts, such as screws and bolts, which can pose a choking hazard․ Keep them out of reach of children․ Use the correct tools for each step, and avoid over-tightening screws, which can damage the wood․ Once assembled, double-check all connections to ensure they are secure․
After assembly, inspect the crib thoroughly for any sharp edges or loose parts․ The mattress should fit snugly, with no gaps larger than two fingers wide between the mattress and crib sides․ Never use additional padding or a thicker mattress that could create a suffocation hazard․ Regularly inspect the crib for any signs of wear or damage, addressing issues immediately․
Finding Replacement Parts and Manuals
Locating replacement parts and manuals for your Bonavita crib can be straightforward with the right approach․ Begin by searching online using the brand name “Bonavita” along with specific keywords like “crib assembly instruction” or “parts․” Including the crib model name, if known, will refine your search․
If you’re seeking a replacement part, search for the brand name, followed by the name of the specific part or hardware you need․ Using quotation marks around the brand name can improve search accuracy, especially for brands with multiple words․ Visual aids, such as photos of the missing part, can also help in your search․
If the original manufacturer is no longer in business, online forums and parenting communities can be valuable resources․ Other parents may have encountered similar issues and found solutions or alternative parts․ Check product pages for buying options and descriptions of compatible cribs․ In some cases, full-size conversion kits or toddler bed conversion instructions may be available for download from online sources․
Maintenance and Cleaning Tips
Maintaining your Bonavita crib ensures both its longevity and your child’s safety․ Regularly inspect the crib for any loose hardware, sharp edges, or signs of wear․ Tighten any loose bolts or screws using the Allen wrench provided during assembly․ Check the mattress support for stability and ensure it is securely positioned at the appropriate height for your child’s age․
To clean the crib, use a mild soap and water solution․ Avoid harsh chemicals or abrasive cleaners that could damage the finish․ Wipe down all surfaces, including the frame, slats, and any decorative elements․ Ensure the crib is completely dry before placing the mattress back inside․
Periodically inspect the mattress for cleanliness and proper fit․ Rotate the mattress regularly to prevent uneven wear․ If using a crib bumper, ensure it is securely attached and meets current safety standards․ Consider removing the bumper as your child grows to prevent potential hazards․
For long-term storage, disassemble the crib and store all parts in a dry, safe place․ Refer to the assembly instructions for disassembly guidance․ Before reassembling the crib, inspect all parts for damage and replace as needed․
Related Posts

dream on me synergy 5-in-1 convertible crib instructions
Need help setting up your Dream On Me Synergy 5-in-1 crib? Find clear, step-by-step instructions & ensure a comfy, secure sleep space for your little one. Let’s build!

compare n save grass and weed killer mixing instructions
Learn how to mix grass and weed killer effectively while saving money. Get expert tips and compare products to keep your lawn healthy and weed-free.

suddenly salad bacon ranch instructions
Craving Suddenly Salad Bacon Ranch? Skip the mystery! Get foolproof instructions, plus tips to make it *amazing*. Dinner’s solved!