the home lab a photo guide for anatomy
Visual learning is key to mastering anatomy, and The Home Lab: A Photo Guide for Anatomy Lab Materials by James Isac and Eugene Rutheny offers a comprehensive resource for students and professionals․ This guide provides high-quality images and practical tips to enhance your understanding of human anatomy through photography․
Overview of the Home Lab
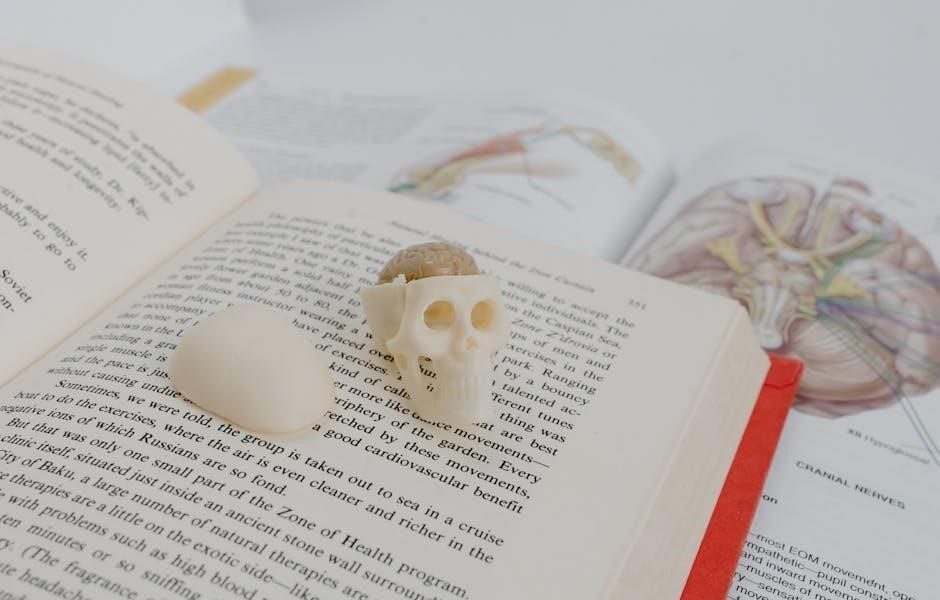
The Home Lab is a comprehensive collection of high-quality, full-color photographs designed to aid anatomy students and professionals․ It provides detailed visuals of human anatomy lab models and materials, allowing users to study beyond traditional classroom settings․ This resource bridges the gap between classroom learning and independent study, offering a student-friendly alternative to drawings and textbooks․ The photography captures intricate anatomical structures, making complex concepts more accessible․ By organizing these images, users can review and reference materials at their own pace, enhancing their understanding of the human body․ The Home Lab is particularly useful for those needing flexible study tools, as it offers a visual and interactive approach to mastering anatomy․ Its accessibility and clarity make it an indispensable resource for both students and educators․
The Importance of Visual Learning in Anatomy
Visual learning is a cornerstone of anatomy education, as it allows students to grasp complex structures and relationships that are difficult to comprehend through text alone․ High-quality images and 3D models provide a deeper understanding of spatial arrangements and functional anatomy․ The Home Lab leverages this by offering detailed photographs that enhance traditional study methods․ Visual aids help students identify and remember anatomical features more effectively, reducing reliance on written descriptions․ This approach is particularly beneficial for kinesthetic and visual learners, who can better retain information when it is presented in a graphic form․ Moreover, visual learning tools like those in The Home Lab facilitate self-study and reinforce classroom instruction․ By integrating photography and interactive content, visual learning becomes a powerful tool for mastering anatomy, making it essential for both students and professionals seeking to enhance their knowledge․
Setting Up Your Home Lab

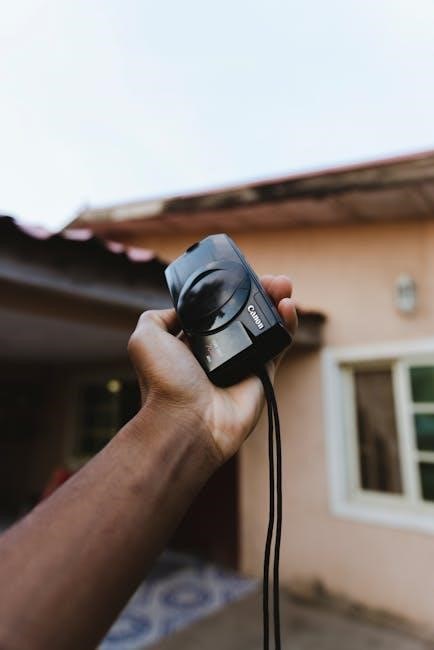
Start by designating a quiet, well-lit space for your anatomy studies․ Invest in a high-quality camera or smartphone for capturing detailed images․ Use a tripod to ensure stability and sharp photos․ Organize your materials, such as anatomy charts, textbooks, and specimens, in a dedicated area․ Proper lighting is essential; consider using a ring light or softbox to minimize shadows․ Store your equipment in a protective case to maintain its condition․ Finally, set up a computer or tablet nearby for organizing and reviewing your photos, creating an efficient workflow for your anatomy learning journey․

Essential Materials Needed for the Home Lab
Setting up a home lab for anatomy photography requires specific materials to ensure clarity and accuracy․ A high-quality camera or smartphone with a good macro lens is essential for capturing detailed images․ Invest in a tripod to maintain stability and prevent blurry photos․ Proper lighting is critical; a ring light or softbox can help illuminate specimens evenly․ Anatomical models, such as a human skeleton or muscular system diagrams, are invaluable for reference․ Use a white or neutral-colored backdrop to create clean, professional-looking images․ Specimens like bones, organs, or synthetic replicas can be photographed for close-up studies․ A notebook and pen are handy for labeling and annotating photos․ Finally, a computer or tablet with photo editing software will help organize and enhance your images․ These tools will form the foundation of your home lab, enabling you to create a comprehensive anatomy photo guide․
Tips for Creating a Productive Study Environment
Creating a productive study environment is crucial for effective learning in your home lab․ Start by designating a specific area for your anatomy studies, ensuring it is quiet and free from distractions․ Natural light is ideal, but if unavailable, invest in high-quality artificial lighting to reduce eye strain and enhance photo clarity․ Maintain a clean and organized workspace; clutter can hinder focus and efficiency․ Use ergonomic furniture to promote good posture and comfort during long study sessions․ Incorporate plants or calming colors to create a soothing atmosphere that fosters concentration․ Additionally, establish a consistent study routine to build discipline and maximize productivity․ Consider using noise-canceling headphones to immerse yourself in your work․ Finally, keep essential resources like anatomy textbooks or digital tools within easy reach․ By optimizing your study space, you can enhance your learning experience and make the most of your anatomy photography efforts․

Organizing Your Anatomy Studies
Organize your anatomy studies by categorizing photos into systems, such as skeletal, muscular, and cardiovascular․ Use labeled folders and timelines to track progress, ensuring a structured and efficient learning experience;
Understanding the Skeletal System Through Photography
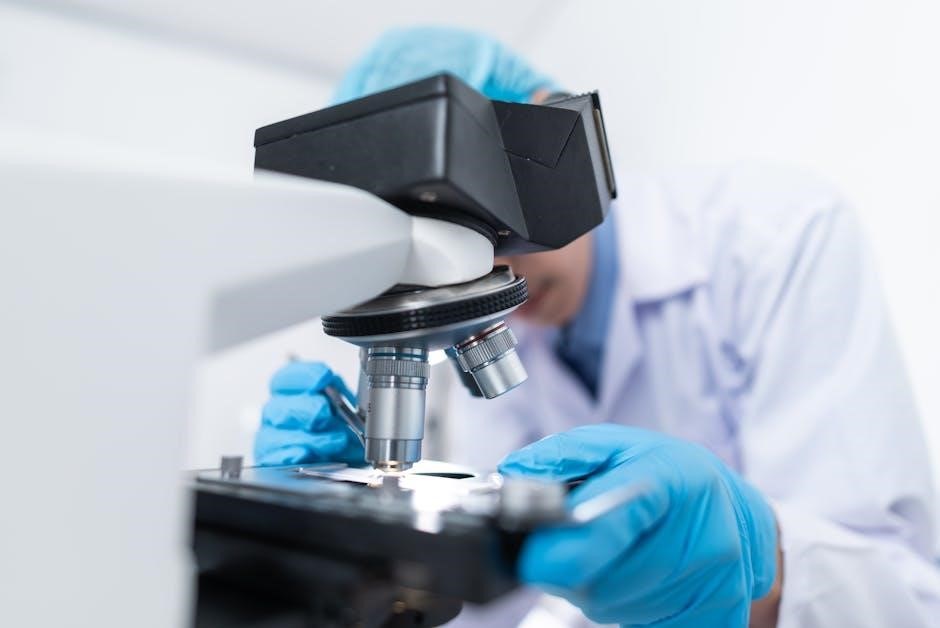
Photography is a powerful tool for studying the skeletal system, allowing you to capture detailed images of bones and their structures․ Start by photographing individual bones, such as the femur or cranium, from multiple angles to observe their shapes and landmarks․ Use lighting to highlight textures and surfaces, making it easier to identify features like foramina, condyles, or sutures․ Organize your photos into categories, such as upper limb bones, lower limb bones, axial skeleton, and skull․ Consider using a tripod to maintain stability and ensure clear, sharp images․ For comparative studies, include photos of bones in articulation to understand how they fit together․ You can also incorporate a measuring tape or scale in images to provide context for size․ Over time, build a reference library of skeletal photography to track your learning progress and reinforce anatomical concepts visually․ This method enhances retention and provides a hands-on approach to mastering the skeletal system․
Exploring the Muscular System with High-Quality Images
High-quality images are essential for effectively studying the muscular system, as they allow for detailed visualization of muscle structures, origins, insertions, and relationships with other tissues․ When photographing muscles, use a tripod to ensure stability and clarity, and experiment with lighting to highlight textures and depths․ Focus on capturing individual muscles, such as the biceps brachii or quadriceps, from multiple angles to illustrate their shape and attachments․ Include a ruler or scale in photos to provide size context․ Organize your images by muscle groups, such as upper limb, lower limb, or abdominal muscles, to create a structured reference library․ Use annotations like arrows or labels to mark key features, such as tendons or fascia․ For deeper insight, photograph muscles in different states, such as relaxed or contracted, to observe functional changes․ This visual approach enhances comprehension and retention of muscular anatomy, making it easier to identify and remember complex muscle arrangements․
Visualizing the Cardiovascular and Respiratory Systems

High-quality images are crucial for understanding the intricate structures of the cardiovascular and respiratory systems․ When photographing these systems, focus on capturing clear details of organs like the heart, lungs, and blood vessels․ Use a macro lens to emphasize textures, such as the smooth surface of the heart or the delicate alveoli in lung tissue․ Experiment with lighting to highlight the translucent nature of blood vessels or the branching patterns of airways․ Include images of specimens from multiple angles, such as the anterior and posterior views of the heart, to illustrate its chambers and valves․ For the respiratory system, photograph the trachea and bronchi to show their hierarchical structure․ Organize your images into categories, such as heart anatomy, blood vessel types, or lung lobes, to create a coherent visual guide․ Annotations, like labels for the atria or ventricles, can enhance learning․ This visual approach aids in grasping the complex interconnections between these systems․

Using Photography for Anatomy Learning

Photography is a powerful tool for anatomy learning, capturing detailed structures and enhancing understanding․ It allows for reviewing complex systems, comparing anatomical variations, and creating a visual library for study and retention․
How to Take Clear and Useful Anatomy Photos
To capture clear and useful anatomy photos, proper lighting and focus are essential․ Use natural or artificial light to illuminate the subject evenly, avoiding harsh shadows․ A tripod can help stabilize the camera, ensuring sharp images․ Experiment with angles to highlight specific anatomical features․ Always maintain a clean, neutral background to minimize distractions and keep the focus on the subject․ For detailed shots, consider using a macro lens or extension tubes to capture fine structures clearly․ When photographing specimens or models, ensure they are well-prepared and positioned to demonstrate key anatomical details․ Consistency in framing and lighting will help create a cohesive photo gallery for study․ Labeling photos with annotations or descriptions can enhance their educational value, making them more effective for learning and review․
- Use proper lighting to avoid shadows and ensure clarity․
- Stabilize the camera with a tripod for sharp images․
- Frame shots to highlight specific anatomical features․
- Label photos for better organization and understanding․

Best Practices for Organizing Your Photo Gallery
Organizing your anatomy photo gallery effectively is crucial for efficient study and review․ Start by creating a clear folder structure, separating images by anatomical systems, such as skeletal, muscular, or cardiovascular․ Use descriptive file names to identify the subject and perspective of each photo․ For example, “Femur_Anterior_View” or “Heart_Coronary_Artery_Detail․” Within each folder, consider subcategories for different views or magnifications․ Use tags or keywords to make searching easier, ensuring you can quickly locate specific images․ Regularly review and delete redundant or low-quality photos to maintain clarity․ Backup your gallery to an external drive or cloud storage to prevent data loss․ Finally, keep a master index or spreadsheet to track your images, noting their location and key features․ This system will streamline your study sessions and enhance productivity․
- Use a structured folder system based on anatomical systems․
- Apply descriptive file names for easy identification․
- Tag or keyword images for quick searching․
- Regularly clean up and backup your gallery․
- Maintain an index for easy reference․

Interactive and Digital Tools
Interactive and digital tools enhance anatomy learning through immersive experiences․ Virtual platforms and 3D models allow exploration of complex structures, while simulations provide hands-on practice․ These tools supplement traditional study methods effectively․
- Virtual anatomy platforms offer detailed visualizations․
- 3D models enable interactive exploration of structures․
Virtual Anatomy Platforms for Enhanced Learning
Virtual anatomy platforms revolutionize learning by providing interactive, three-dimensional models of the human body․ These tools allow students to explore complex structures in detail, layer by layer, enhancing comprehension and retention․ Unlike static images, virtual platforms enable users to rotate, zoom, and dissect models, simulating real-life anatomical experiences․ Many platforms, such as Zygote Body or Visible Body, offer labeled structures, quizzes, and guided tutorials, making them invaluable for self-study․ They also support cross-sectional views, allowing learners to visualize how systems interact․ These platforms are accessible on multiple devices, making them ideal for home labs․ By integrating photography with virtual models, students can compare real-world images with digital representations, deepening their understanding․ Virtual anatomy tools are cost-effective and space-saving alternatives to physical models, providing a modern, immersive way to master anatomy․ They are particularly useful for visual learners, offering a dynamic approach to studying complex anatomical concepts․
3D Models and Simulations for Deeper Understanding
3D models and simulations are powerful tools for gaining a deeper understanding of anatomy․ These interactive resources allow learners to explore complex structures from multiple angles, making abstract concepts more tangible․ With 3D modeling software, users can manipulate digital representations of organs, tissues, and systems, observing how they function and interact․ Simulations, such as virtual dissections or physiological processes, provide a safe and repeatable way to study anatomy without physical specimens․ Many platforms offer customizable models, enabling users to focus on specific regions or systems․ These tools are particularly beneficial for visual and kinesthetic learners, as they facilitate active engagement․ By integrating 3D models with photographic references, students can cross-reference details, enhancing their ability to recognize anatomical landmarks․ This combination of visual and interactive learning creates a comprehensive and immersive study experience, making anatomy more accessible and engaging in a home lab setting․ Such tools are invaluable for reinforcing knowledge and preparing for practical exams․
Setting up a home lab with photography and interactive tools revolutionizes anatomy learning․ By combining visual aids, 3D models, and simulations, students can achieve a deeper understanding and retention of complex anatomical concepts․ Keep experimenting and learning!
Final Tips for Maximizing Your Home Lab Experience
To fully maximize your home lab experience, maintain a well-organized digital gallery with clear categories for each anatomical system․ Regularly review and update your photo collection to reflect your learning progress․ Consistency is key; establish a routine for study sessions to enhance retention․ Optimize your workspace with proper lighting and ergonomic furniture to ensure comfort during long study periods․ Additionally, consider incorporating interactive tools like virtual anatomy platforms or 3D models to supplement your photography-based learning․ Stay motivated by celebrating small milestones and acknowledging the progress you make․ By integrating these strategies, you can create a dynamic and effective learning environment that supports your anatomy education and keeps you engaged and enthusiastic about your studies․
Related Posts

a witch’s guide to fake dating a demon spice level
Need a fake boyfriend…who’s a demon? This witch’s guide spills all the tea on navigating a deliciously dangerous fake dating situation! Prepare for spice!

spectrum tv guide beaumont tx
Don’t miss a thing! Find the complete Spectrum TV guide for Beaumont, Texas. Streamlined listings, easy channel lookup & what to watch tonight. ✨
rob holland drug guide
Need reliable drug info? The Rob Holland Drug Guide at ShowLosAngeles.com offers clear, concise details to help you understand medications. Find what you need now!